Setting up a dedicated charging station for your devices can simplify your daily routine and keep your space clutter-free. Whether you have smartphones, tablets, wireless earbuds, or smartwatches, having one organized spot to charge everything helps reduce mess and makes it easier to keep track of your gadgets.
In this guide, we’ll walk you through the essentials of creating an effective charging station that suits your needs and space.
Why Set Up a Charging Station?
With multiple devices relying on power, cords and chargers tend to get scattered around the house. A charging station:
– Centralizes all your device power needs
– Helps maintain an organized, tidy space
– Protects devices and chargers from accidental damage
– Saves time hunting for cables or outlets
– Encourages regular charging habits
Now, let’s explore how to build one that works for you.
Step 1: Choose the Right Location
Pick a convenient spot where you typically use or store your devices. Common locations include:
– Near a desk or home office setup
– Living room side table or media center
– Kitchen counter or nook
– Bedroom nightstand
Make sure the location has easy access to power outlets and enough space for your devices and chargers.
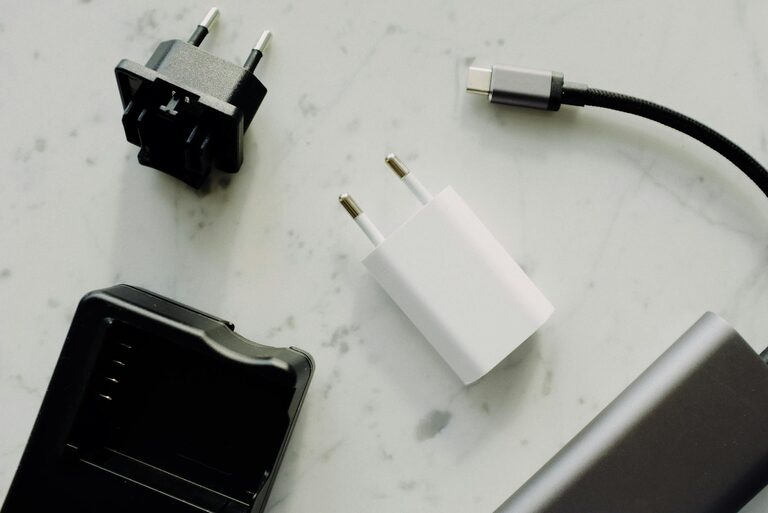
Step 2: Select Your Charging Equipment
Power Strip or Multi-Port Charger
Invest in a reliable power strip or a multi-port USB charger. Features to consider:
– Number of outlets or USB ports
– Fast-charging support (e.g., USB-C Power Delivery)
– Surge protection for safety
– Compact size to minimize clutter
Charging Dock or Stand
Charging docks hold devices upright and organized while charging:
– Choose one compatible with your devices
– Consider wireless charging pads for Qi-enabled gadgets
– Multi-device docks help charge several devices at once
Cables and Adapters
Gather the right cables and adapters for your devices:
– USB-C, Lightning, micro-USB as needed
– Keep extra cables handy but organized
– Avoid frayed or damaged cords for safety
Step 3: Organize Your Space
Cable Management Tips
Prevent tangled cords with simple solutions:
– Use cable clips or adhesive holders to keep cables in place
– Velcro straps or zip ties bundle excess cable length
– A cable management box can hide power strips and excess cables
Label Your Chargers
Labeling cables can save confusion, especially if multiple people share the station or devices:
– Use small tags or colored tape to identify each cable
– This helps avoid unplugging the wrong device
Step 4: Assemble Your Charging Station
- Plug your power strip or multi-port charger into the outlet.
- Arrange your charging dock or pads on the surface.
- Connect chargers and route cables neatly using your cable management tools.
- Place devices on the docks or pads to confirm all connections work.
- Adjust layout for convenience and accessibility.
Step 5: Maintain Your Charging Station
– Regularly check cables for wear and replace if needed.
– Keep the surface clean and dust-free.
– Update or add chargers if you get new devices.
– Make it a habit to unplug devices once fully charged to save energy.
Additional Tips
– If you have many devices, consider labeling power strips and individual ports.
– Use a timer plug to cut power during off-hours for efficiency.
– For travel, create a portable charging station with a compact multi-port charger and cable organizer.
Conclusion
A well-planned charging station can enhance your device management, reduce clutter, and keep your devices charged and ready to go. Start small and customize it to your lifestyle—your devices and your space will thank you!